Portfolio Page
Final Portfolio
Altered Portraits
** Only made us turn in 8 pictures**
Top 4 Images:


Bottom 4 Images:


After Questions:
1.) This project that I am displaying is called altered portraits. Altered portraits is when you take a portrait of someone and in some way that images is being manipulated and edited with a filter or changed some how. So you would take an image of some one posing, sitting, leaning, or laying down and take the image and edit the image so where it looks different but you can tell it is the same image.
2.) I chose this type of photography because it was assigned to us and it was our grade. Also, I wanted to do this type of photography to get more practice with working with photoshop and messing with the tools that they have. But I chose these poses because I thought they were cute and that they would look cute.
3.) I thought that my top 4 images were successful because they came out the cutest and the most decent pictures that I not only taken but also edited. The way that I had got them to pose went perfectly with the type of edit that I had added on top. But they were the top 4 images because to me they were the most appealing.
4.) I thought my bottom 4 images were not as successful as my top 4 images because they were icky and very cringe. I think its because of the edit and the type of editing that I had done on top of them. Some poses did not match and on my overlay picture it was totally off.
5.) To shoot my images successfully for next time I want to make sure that the edits that I chose to do go with the images. So in that way the images can match up and pair up with the edit. Also, I want to make sure that the poses that I choose to do match up. In which this means I will think ahead and plan before shooting so when it comes to editing I won't have any problems.
6.) The thing that I had learned from this project is that to plan ahead and look at what editing I would want to do. Also that editing is way more complicated than it looks because of all the tiny editing things that you do to the image actually is a lot of work when you actually get into it.
Blur Motion
Top 4 Images:
** I only have 5 images total because I was absence **


Bottom 4 Images:


After Questions:
1.) This project is called blur motion. In blur motion you snap an image while the model or object is doing some kind of sudden movement. To take a picture of blur motion you will have to mess with the ISO to get the shutter speed high so that way you can get the image to be clear and have that blurry effect.
2.) We chose this type of photography because it was our grade and it was assigned to us. But overall I chose to do these types of poses because I thought that they were cool and that they would look cool for this type of project. They were blurry and not clear but I still got the blur along with being able to tell what they are doing.
3.) I thought that my top 4 images were successful, well most successful because this project was a bit tricky and you had to get the shutter speed and the ISO perfectly with the objects speed and motion. It was a bit of a challenge for me so that is why I thought those 4 images were successful because they came out overall decent and surprising knowing I had a hard time with this type of photography.
4.) I thought that my bottom 4 images were not as successful because they were simple and really broad. Not only were the images simple and broad, it literally has no meaning to the pictures and they were blurry and you couldn't nothing as clear as my top 4 images. They weren't in focus and it has a lot of blur.
5.) Not that I somewhat know how to shoot this type of photography, for further reference I would plan ahead and think about how fast the objects are moving. I learned that the higher the ISO means the object can't be doing nothing slow, and when the shutter speed is high, it lets in a lot of light and it can cancels out the subjects matter. But I learned that shutter speed and ISO are really important for this type of photography.
6.) This project made me learn that trying to do something that looks really cool and it looks easy and simple. It really isn't easy and simple because of all the work and timing along with patience that it includes. This type of photography was a serious challenge for me and my group but we still managed to put effort into it. But I learned photography isn't always you can snap a picture and the camera will do it things for the effect that you want to express or resemble, it requires a lot of things to be done manually.
Still Life
Top 4 Images:


Bottom 4 Images:


1.) This project is called Still Life. Still Life is when you take a bunch of random items and tie them into one theme or just rearrange them to make it seem like it is a theme. But to get the images you need to get the either random it or items that belong to a theme. Then you just arrange them in a way you want them to be.
2.) We were assigned this type of photography so it really wasn't my choice. But the items that me and my group had chose was basically based on the themes of beauty, nature, Christmas/winter, and Halloween. We chose the certain items that we did because we thought they would fit the themes and it was something that we had laying around the house or in our rooms.
3.) I thought that my top 4 images were successful because they were very cute and so adorable and top of that they were very appealing. With the way the shot was taken and the way we rearranged our items they went perfect and it looked so perfect because it went with the flow.
4.) I thought that my bottom 4 images were not as successful because they really didn't have no meaning and I thought they were a bit too simple and boring. But I think the image were too dark and wasn't eye catching or appealing to me, so it didn't really catch my attention like my top 4 images.
5.) Next time I shoot this type of photography I want to bring more different types of objects that tie into the theme. Also having more objects leads to having more ideas which mean more rearrangements. This can leads to having more images which is a great deal when having a lot of items.
6.) This type of photography helped me learned that even the littlest things that you need for a project really can do a lot to change your image and make it look better. Also I learned that this type of photography is that it includes a lot of rearranging and creativity.
Independent Project #1
Top 4 Images:


Bottom 4 Images:


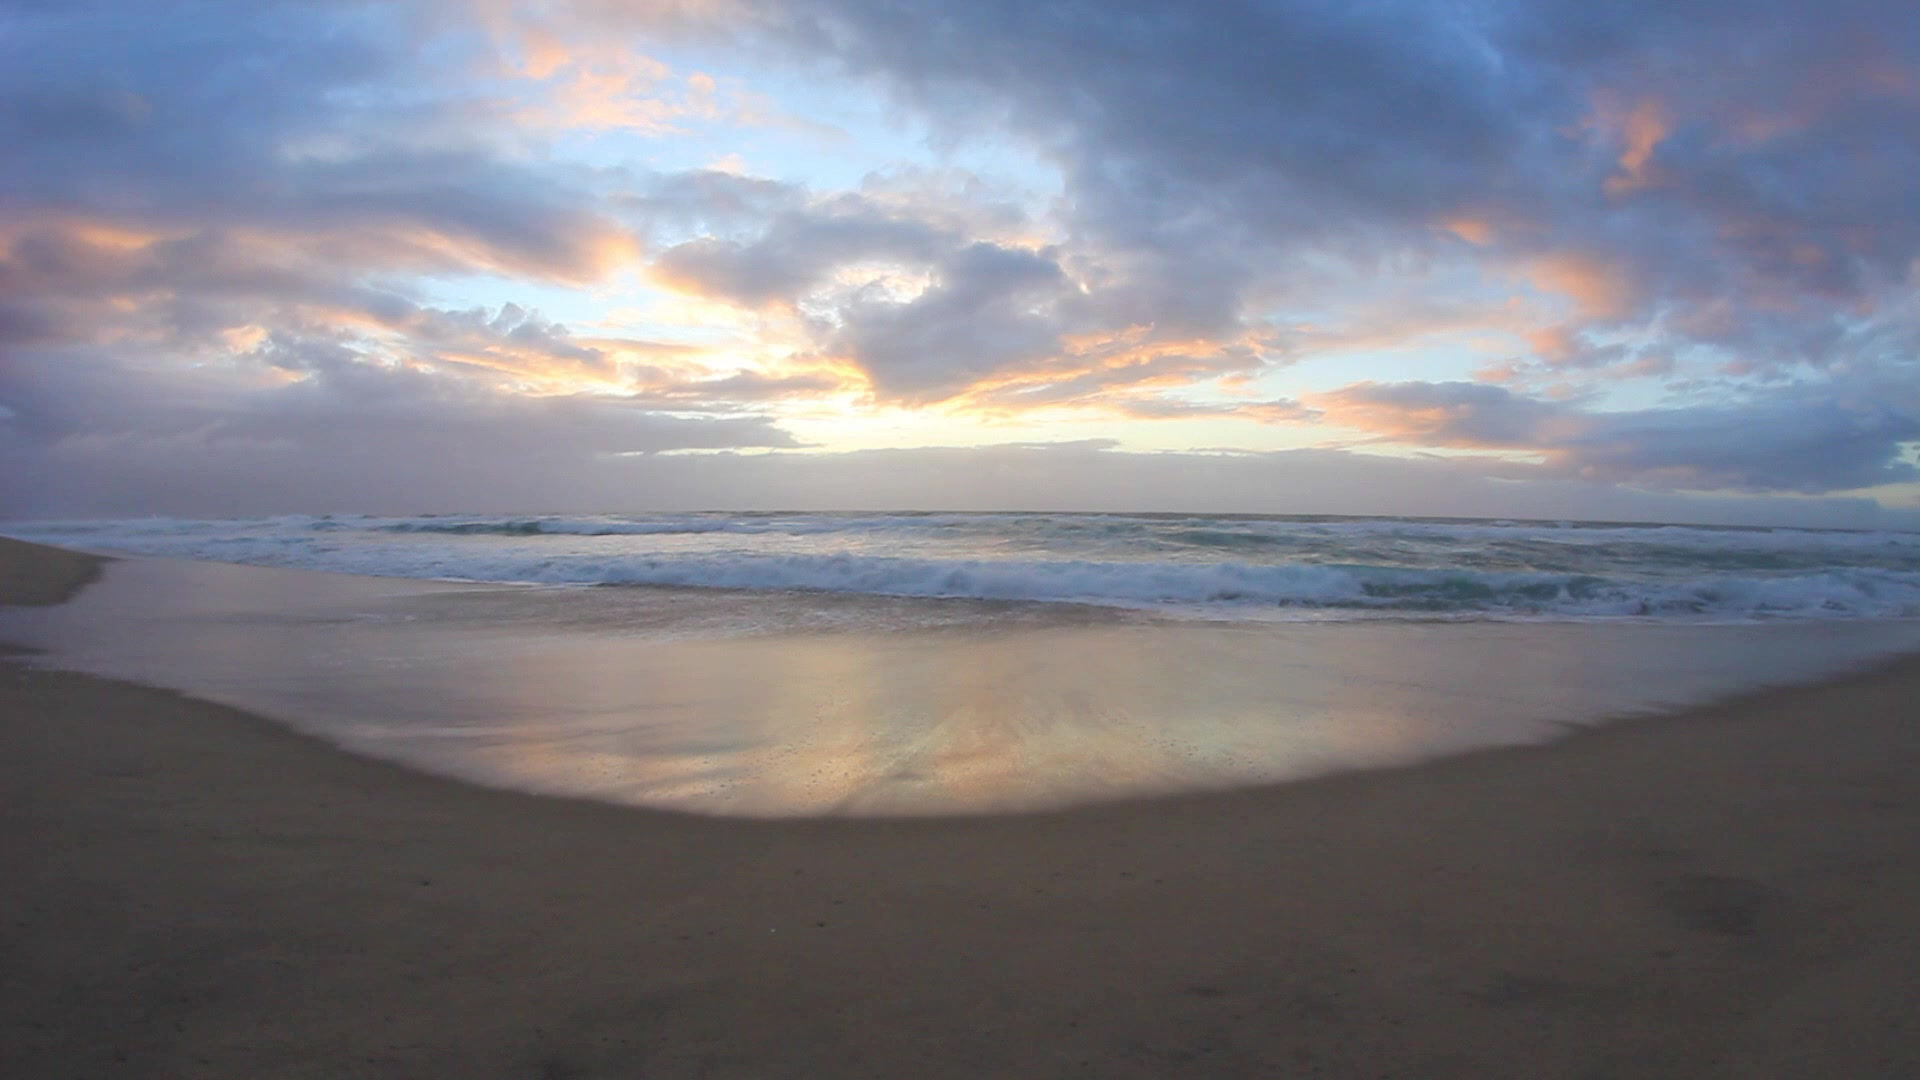
1.) For my 1st Independent project I did a back lit silhouette. For back lit silhouette is when the background is lit while the subject or object is in complete darkness and is totally black. You take an object or subject or model and you make sure that the object is completely in darkness while the background is some how lit.
2.) I chose to do this type of photography to shoot for my first independent project is because I thought it would be cool and interesting to do. Also, I had seen it on Pintrest and Instagram and I thought it would be cool and fun to do as one of my projects.
3.) I thought that my top 4 images were successful because they came out cute and cool just for my first project on my own. Also, they sky looks so beautiful as ever and the way my boyfriend and his brother had fun posing for me. So it was basically a win-win for me and my grade and also for my boyfriend and his brother because they had a lot of fun.
4.) I thought that my bottom 4 images were not as successful as my top 4 images because they were simple and boring and i ran out of ideas of ways for them to pose. Also, I think they could have came out more better if I had more ideas.
5.) For further reference if I were to shoot this type of photography next time I would want to go to somewhere where it has a flat land with a good view of the sunset or sun rise. Also, I would plan ahead thinking of where and what time and what poses I will be needing my models to do and think about everything thoroughly.
6.) This project helped me learn more about photography with composition and depth of field. Also what I had learned is that taking pictures with the sky can be real tricky because the sky can get really dark really-really quick and doing back lit silhouette with the sky is timed.
Independent Project #2
Top 4 Images:


Bottom 4 Images:
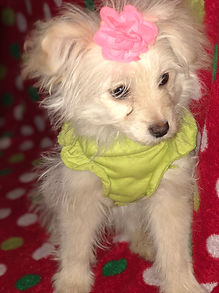


1.) This type of photography is called doggy photography. For my doggy photography i chose to do doggy portraits. Doggy portraits are when you take pictures of dogs posing and doing something. For example, you take a dog and get them to pose just like as you would do with a portrait.
2.) I chose this type of photography to shoot for my independent project because they came out really cute in my last project and they look really appealing to my eyes. I also love dogs and since my dog is getting use to the cameras I can take more and more pictures of her.
3.) I thought my top 4 images were successful because they came out really adorable and cute. They also had came out really clear and to me they look good because her fur isn't blending in or making her face disappear. Also the way that she had posed in the pictures were absolutely adorable.
4.) I thought my bottom 4 images were not as successful as my top 4 images because they were a little awkward and not appealing to the eye. Yes they are cute but they are not as cute as my top 4 images. In some pictures she is posing really weird and it just looks awkward.
5.) The next time i would shoot this type of photography I will try and get the dog to get the dogs to stay still and listen without moving. Also in the pictures she would look away and it wasn't as cute because she kept looking away and wouldn't pose right.
6.) The thing that I learned about this type of photography is that trying to get puppies to be obedient. They do not listen even if you try and bribe them. Also I had learned that to choose you background right because your object or subject might be too bright from all the color it gives off.
Independent Project #3
Top 4 Images:


Bottom 4 Images:


1.) For my 3rd Independent project I choose to do doggy photography. For my doggy photography I chose to do XCU and CU on dogs noses and eyes. Doggy photography can be any photography you just need to determine how and what kind of pictures you will be taking.
2.) I chose to do this type of photography for my 3rd Independent Project because I wanted to do something with dogs because I had got a new puppy at the time and I wanted to do something with dogs. Also, I love dogs and I wanted to take pictures of dogs because their so cute.
3.) I thought that the top 4 images had came out successful because their had came out so cute and hey came so clear and focused. Also, they came out more than what I had expected. I got the eyes and nose to perfect in the pictures and they lined up really good.
4.) I thought that the 4 bottom images were not as successful because they do not look as good as my successful as my top 4 images. They came out off and not as clear and the noses were completely out of focus and I didn't like that nor find it appealing.
5.) Now that I had shot this type of photography I will make sure that my focus is mainly focused on their noses and their eyes. I will try and get the eyes and noses in focus so that way when it comes to editing the nose and eyes will be in focus and it wont irritate because the nose or the eyes isn't in focus.
6.) The thing that I learned from this type of photography is that it isn't that easy to focus two things at once. I also had learned that doggy photography isn't so easy because they would either move or not stay still or listen.
Independent Project #4
Top 4 Images:


Bottom 4 Images:


1.) This project is called doggy photography. This type of photography I did doggy portraits again. For doggy portraits you take your dog or someones dog and tell them to pose or try and get them to pose and take a picture of them.
2.) I shot this type of photography for my independent project because I love dogs and I thought doing another doggy project it would look cute on my website. Also dogs and pictures who doesn't love dogs and pictures. I couldn't help myself so I chose to do another doggy photography because their cute and cuddly.
3.) I thought that my top 4 images were successful because they came out so focused and clear. Also they posed so cute and they posed so perfectly that the background went along with the theme that some of my shots were going to be.
4.) I thought that my bottom 4 images were not as successful as my top 4 images because they had came out really weird and not as good. The thing is that some of them look a little blurry and they were not as appealing to the eye unlike my top 4 images.
5.) For further reference to get my images to be more successful I will need to make sure I have treats and snacks and the right background. Also to get the timing right if the dogs want to move or blink before I snap a picture. This way I won't have trouble with the dogs blinking or moving.
6.) What I had learned from shooting this type of photography is that shooting pictures of dogs are not only cute, but you have to put a lot of work into it because some dogs just do not listen or is obedient. So you have to get the timing right and try to get them to stay and pose.
Independent Project #5
Top 4 Images:


Bottom 4 Images:


1.) This project is on another doggy photography. I did another doggy portrait type of photography. For doggy portraits, you literally get a dog and get them to pose for the camera and try and get them to psose in some way or get them doing some kind of action.
2.) I chose do this type of photography because I love my dog Bella and since I didnt really have a lot of pictures of her as in cute ones. I wanted to take them serious so i made them into my project. So now I have pictures of my dog and a good grade, so its a win-win for me.
3.) I thought that my top 4 images were successful because they look so cute and they were in focus and they have a good appealing and look to them. I especially love the image of my dog posing and laying down and the white makes her pop out and look so much cute.
4.) I thought my bottom 4 images were not as successful as my top 4 images because they don't have any appeal to the eye. They were just random poses that were not that good and it looks awkward. But they were just a little blurry and I didn't like that at all.
5.) For my further reference, next time I will make sure to make sure that my dogs pop out and make sure that my dog is looking at the camera and not somewhere else. I think the pictures look so cute when I get them looking into the camera. So to get my images a success I will get them to look into the camera.
6.) The thing that this project had helped me understand about this type of photography is that not all dogs will look into the camera. But also if a dog is threatened by the camera they will not listen or be obedient for anything. I also learned that lighting is the main key when it comes to dark furred dogs.
Independent Project #6
Top 4 Images:


Bottom 4 Images:


1.) This project is just like still life but with flowers. In still life, you just take different object and take a picture of them either with one theme or just randomly. In still life you just take the objects and just rearrange them the way that you want to.
2.) I chose to do this type of photography because I thought it would be cute to do because it was spring time and all the flowers, roses and leaves were blooming. Also I thought it would be a fun and cute to take pictures of nature. Also I love roses and I thought it would be a cute thing to take pictures of.
3.) I thought that my top 4 images we re the most successful because they aren't too bright and the colors look so vibrant and colorful. Also they were in total focus and the way that I arranged them to where it looks very cute and very eye appealing. I even got the bowl in the picture and I didn't like that.
4.) I thought the my bottom 4 images were not as successful as my top 4 images because my bottom 4 images were too bright and the pink rose looks very very bright. More brighter than my other roses. Also the thing was that I just didn't like the way that I arranged them.
.5.) For further reference to get my images to be more successful I will take the picture with less flash. I think having less flash it won't make the vibrant colors as bright. Also I will snap them from all different shots as well because I basically only did one type of shot and they were alright.
6.) The thing that I had learned about this project is that the brighter colors and flash literally cancel out the other darker colors. Also, I learned that shooting from a BEV can be really tricky especially when water is included. But I also learned that you really need to rearrange and get more objects so that the images look different and cute.